How to Cache Your Website on Cloudflare
CDN caching is a highly effective way to improve your site's performance. When used correctly, caching reduces server load and makes your pages load faster for your users. In this guide, you'll learn how to set up caching on Cloudflare, one of the most popular CDN providers.
What is Cloudflare Caching?
When a visitor requests a page from your website, their browser typically needs to fetch the content from your origin server. This process takes time, especially if your server is physically far from the visitor. Cloudflare acts as an intermediary, storing copies of your content on servers around the world. When someone visits your site, they get the content from the nearest Cloudflare server instead of your origin server.
Setting Up Cloudflare Caching
The official Learning path covers the basics of Cloudflare, but this quick start guide focuses on caching specifically.
1. Add Your Website to Cloudflare
First, you'll need to add your website to Cloudflare:
- Sign up for a Cloudflare account
- Click "Add a domain" in your dashboard
- Enter your domain name
- Choose a plan (the Free plan includes basic caching)
- Update your domain's nameservers to point to Cloudflare
2. Configure Cache Settings
Once your site is added, go to the Caching > Configuration section in your dashboard.
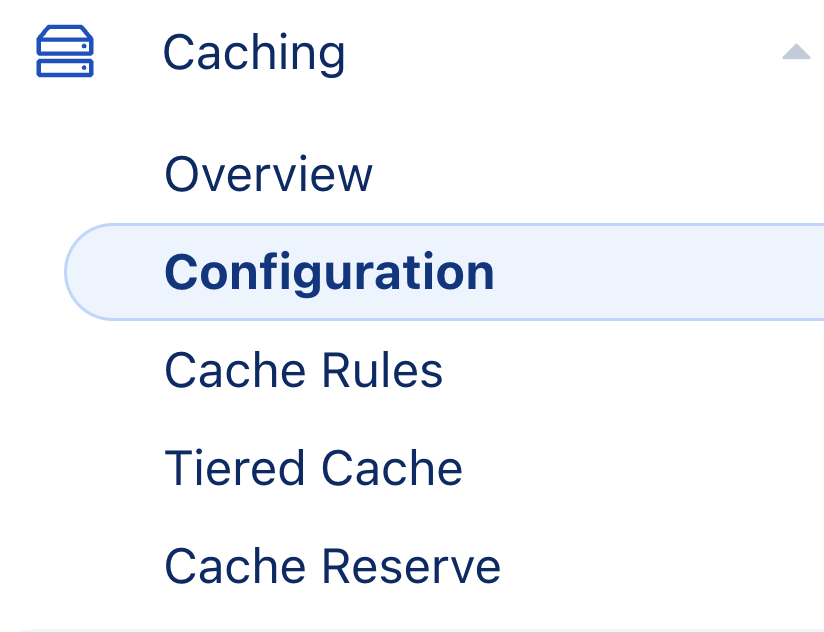
Here are the key settings to configure:
Cache Level
Within Caching → Configuration → Cache Level. You have three options:
- No Query String: This option caches files without query strings. For example,
example.com/image.jpgwill be cached, butexample.com/image.jpg?size=largewon't be. - Ignore Query String: This option caches files regardless of the query string. Both
example.com/image.jpgandexample.com/image.jpg?size=largewill be cached. - Standard: This option caches files based on the full URL, including the query string.
example.com/image.jpgandexample.com/image.jpg?size=largewill be treated as separate resources that are eligible for caching.
Learn more about Cache Levels on Cloudflare's documentation page.
Browser Cache TTL
This setting tells your user's browsers how long they should keep cached content. Find it under Caching → Configuration → Browser Cache TTL.
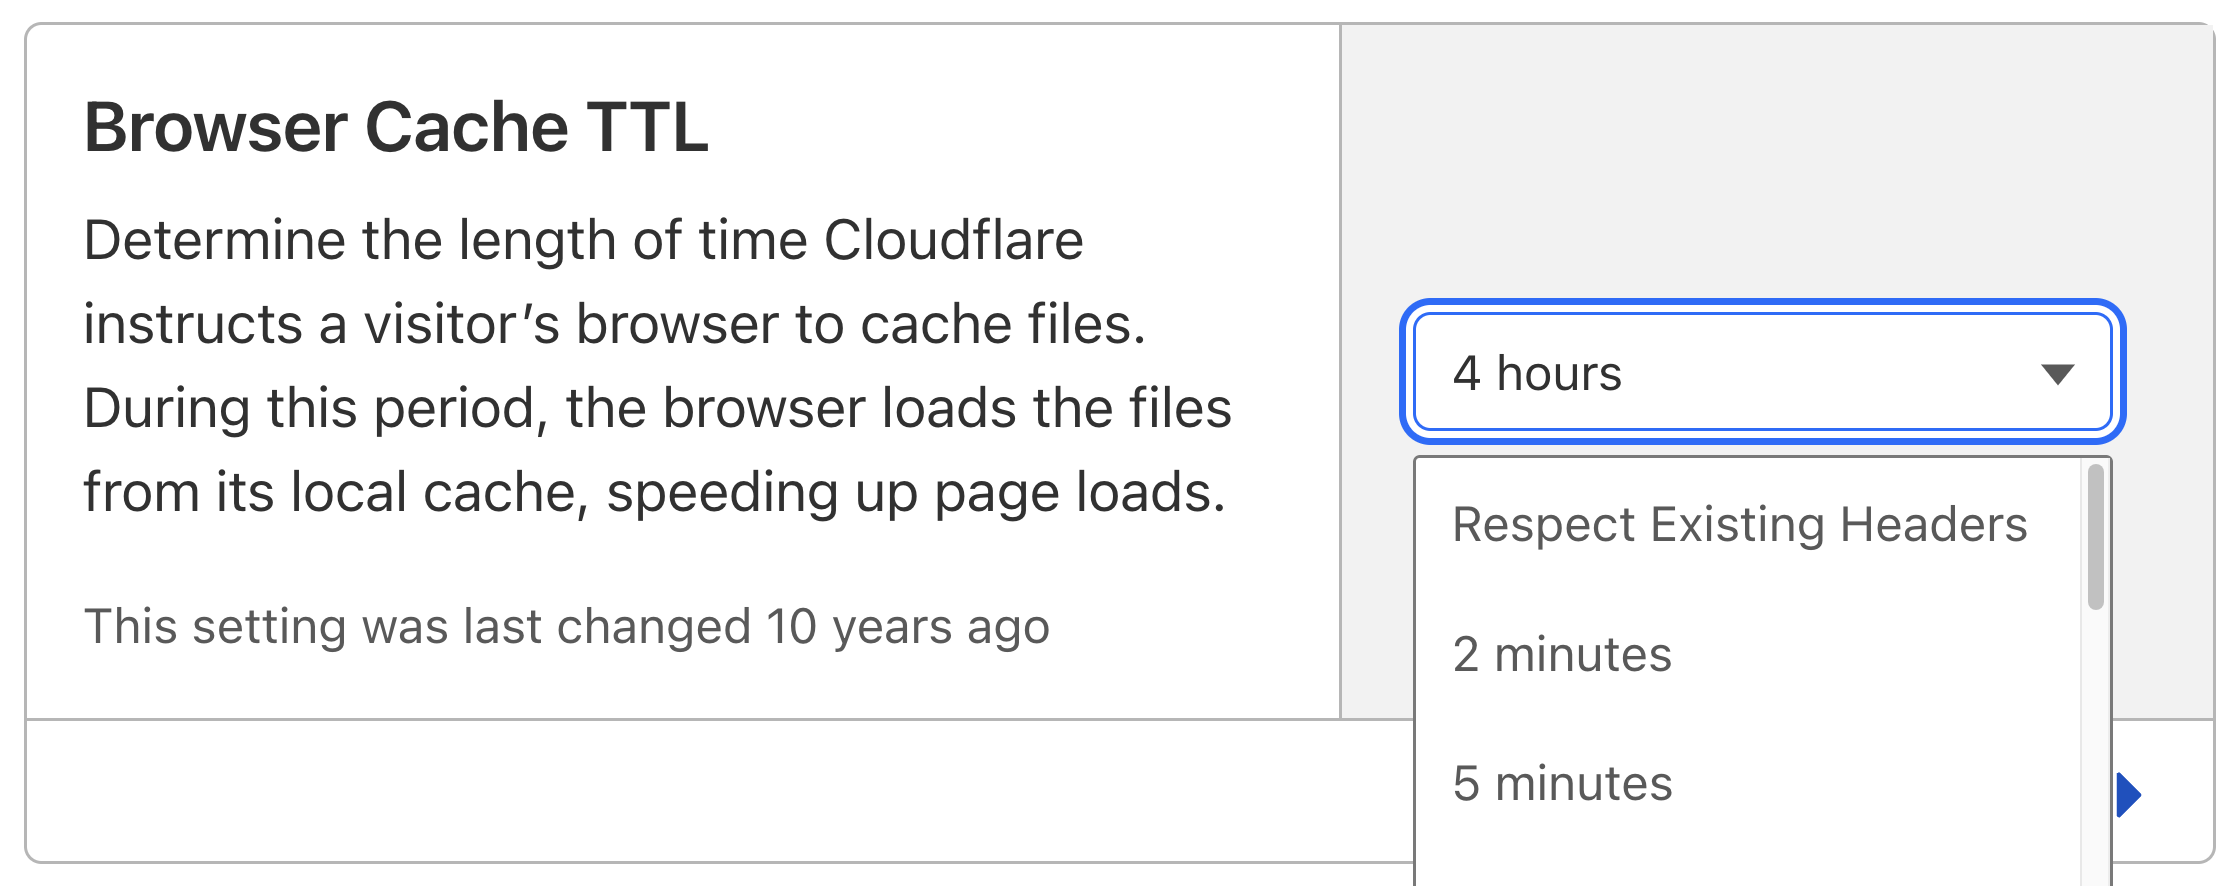
The longer the time period, the less often visitors need to fetch content from Cloudflare, let alone your server - this is good for performance. However, if you update your site frequently, you may want to set a shorter time period.
If you select the "Respect Existing Headers" option, Cloudflare will use the Cache-Control headers set by your origin server.
At this point, you might be wondering, what if different website resources need different cache settings? You can tackle that through cache rules, discussed later.
Remember that how a resource is cached on a CDN, like Cloudflare, can differ from how it's cached on the user's browser. The Browser Cache TTL setting only affects the browser cache.
Cache Rules
Cache Rules let you control how your website resources are cached on Cloudflare. You can set different cache behaviors based on URL patterns, file types, or other conditions.
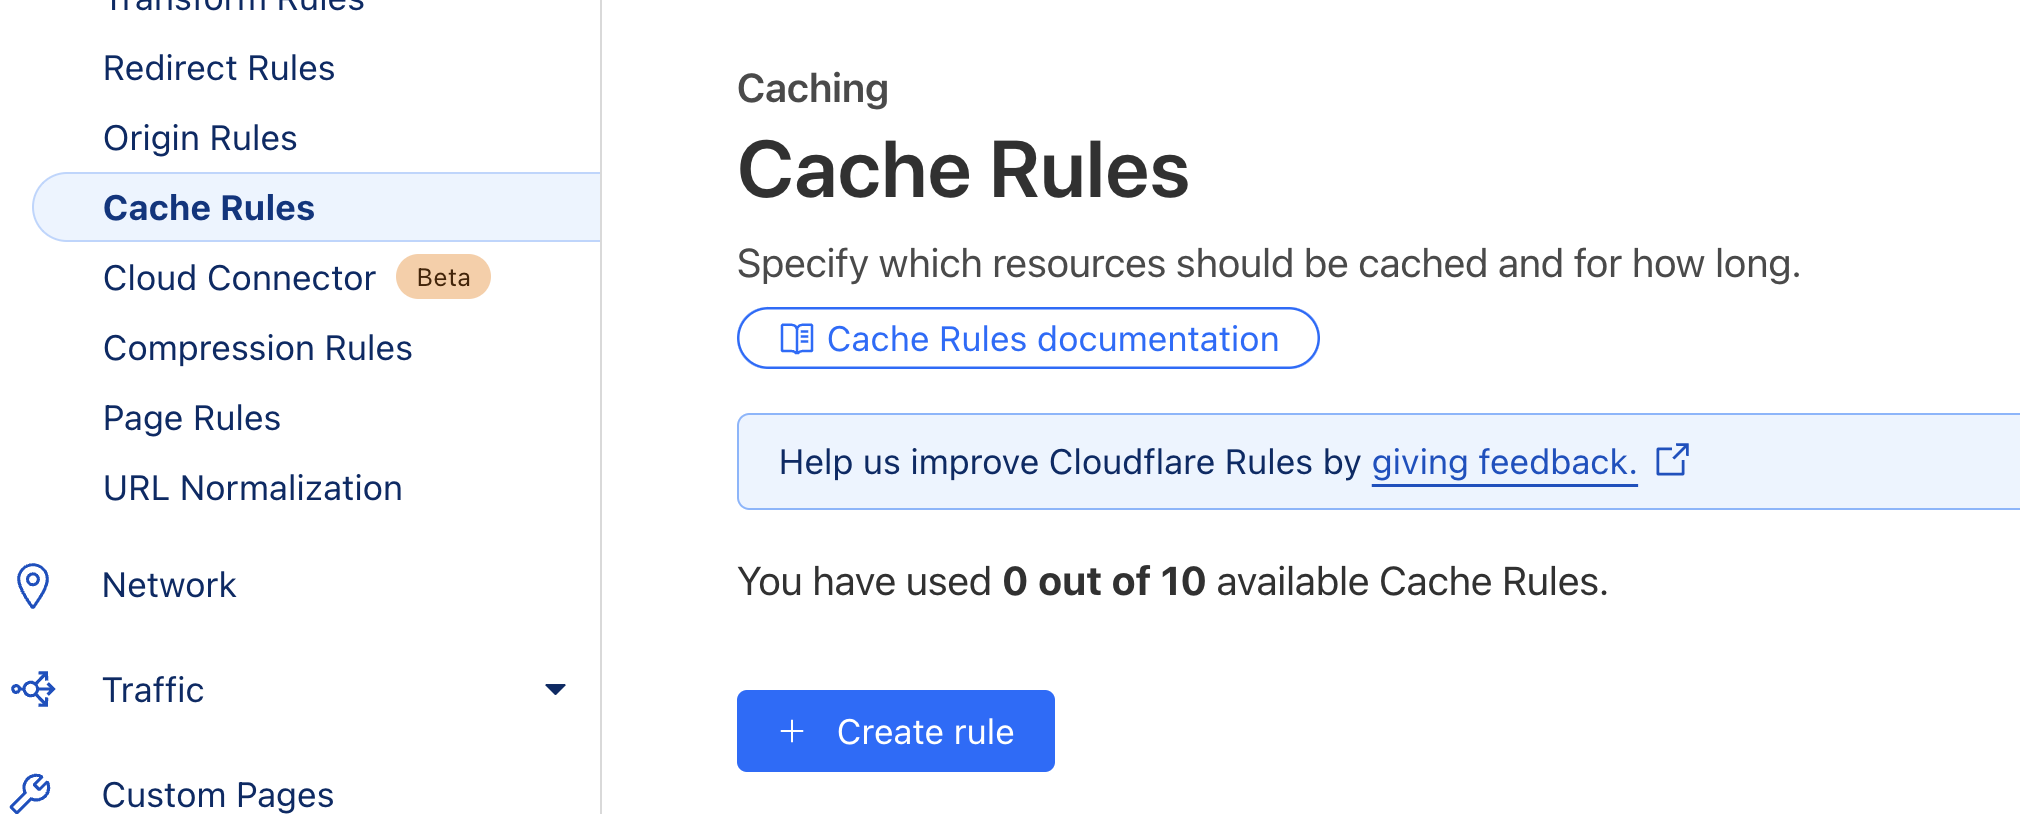
To create a rule:
- Go to Caching → Cache Rules in your Cloudflare dashboard
- Click + Create Rule
- Set up your conditions (e.g., URL pattern, file type)
- Choose the caching behavior
Cache rules give you fine-grained control over how your content is cached. For example, the following screenshot shows a Custom filter expression that matches against either of these patterns:
https://example.com/assets/*: Matches all files under the/assets/directory.https://example.com/public/*: Matches all files under the/public/directory.
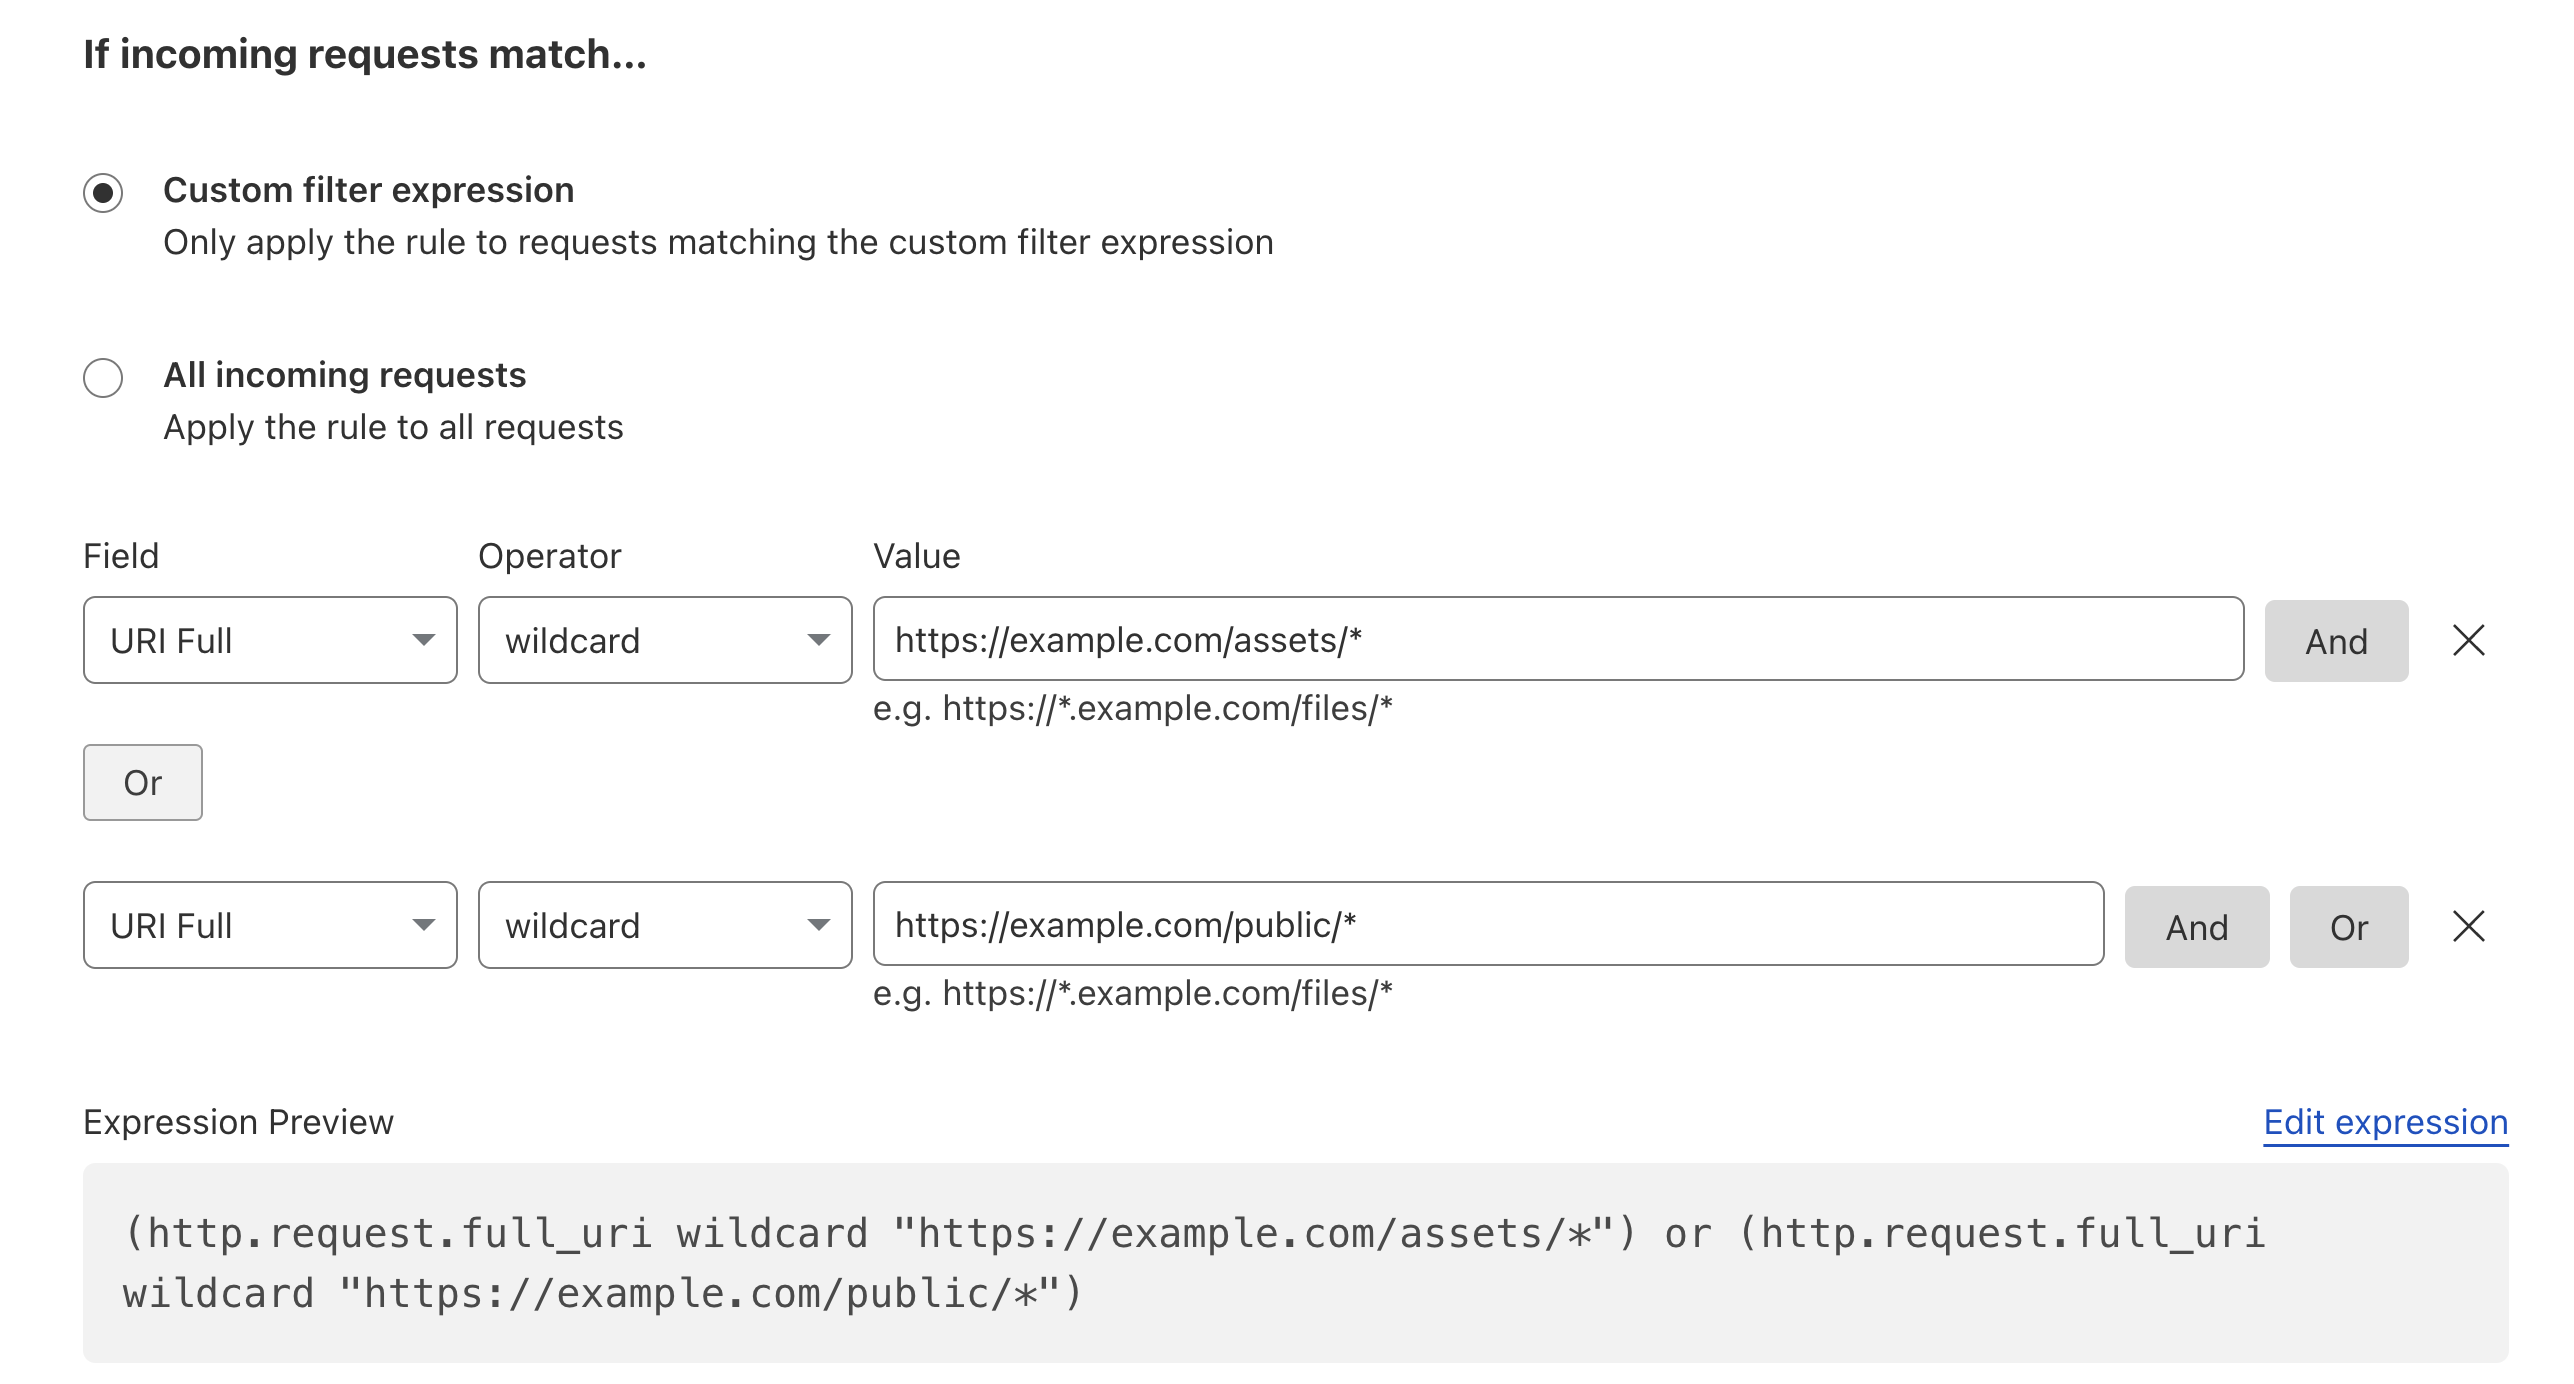
Matching a request is the first step. You then need to decide how to cache the content.
To start out with, you can specify that matching resources are Eligible for cache. This means that Cloudflare will cache the resource if it meets the other cache settings you've configured.

Earlier, you saw how Cloudflare provides a Browser Cache TTL setting. Similar to that, you also get a "Edge TTL" setting:
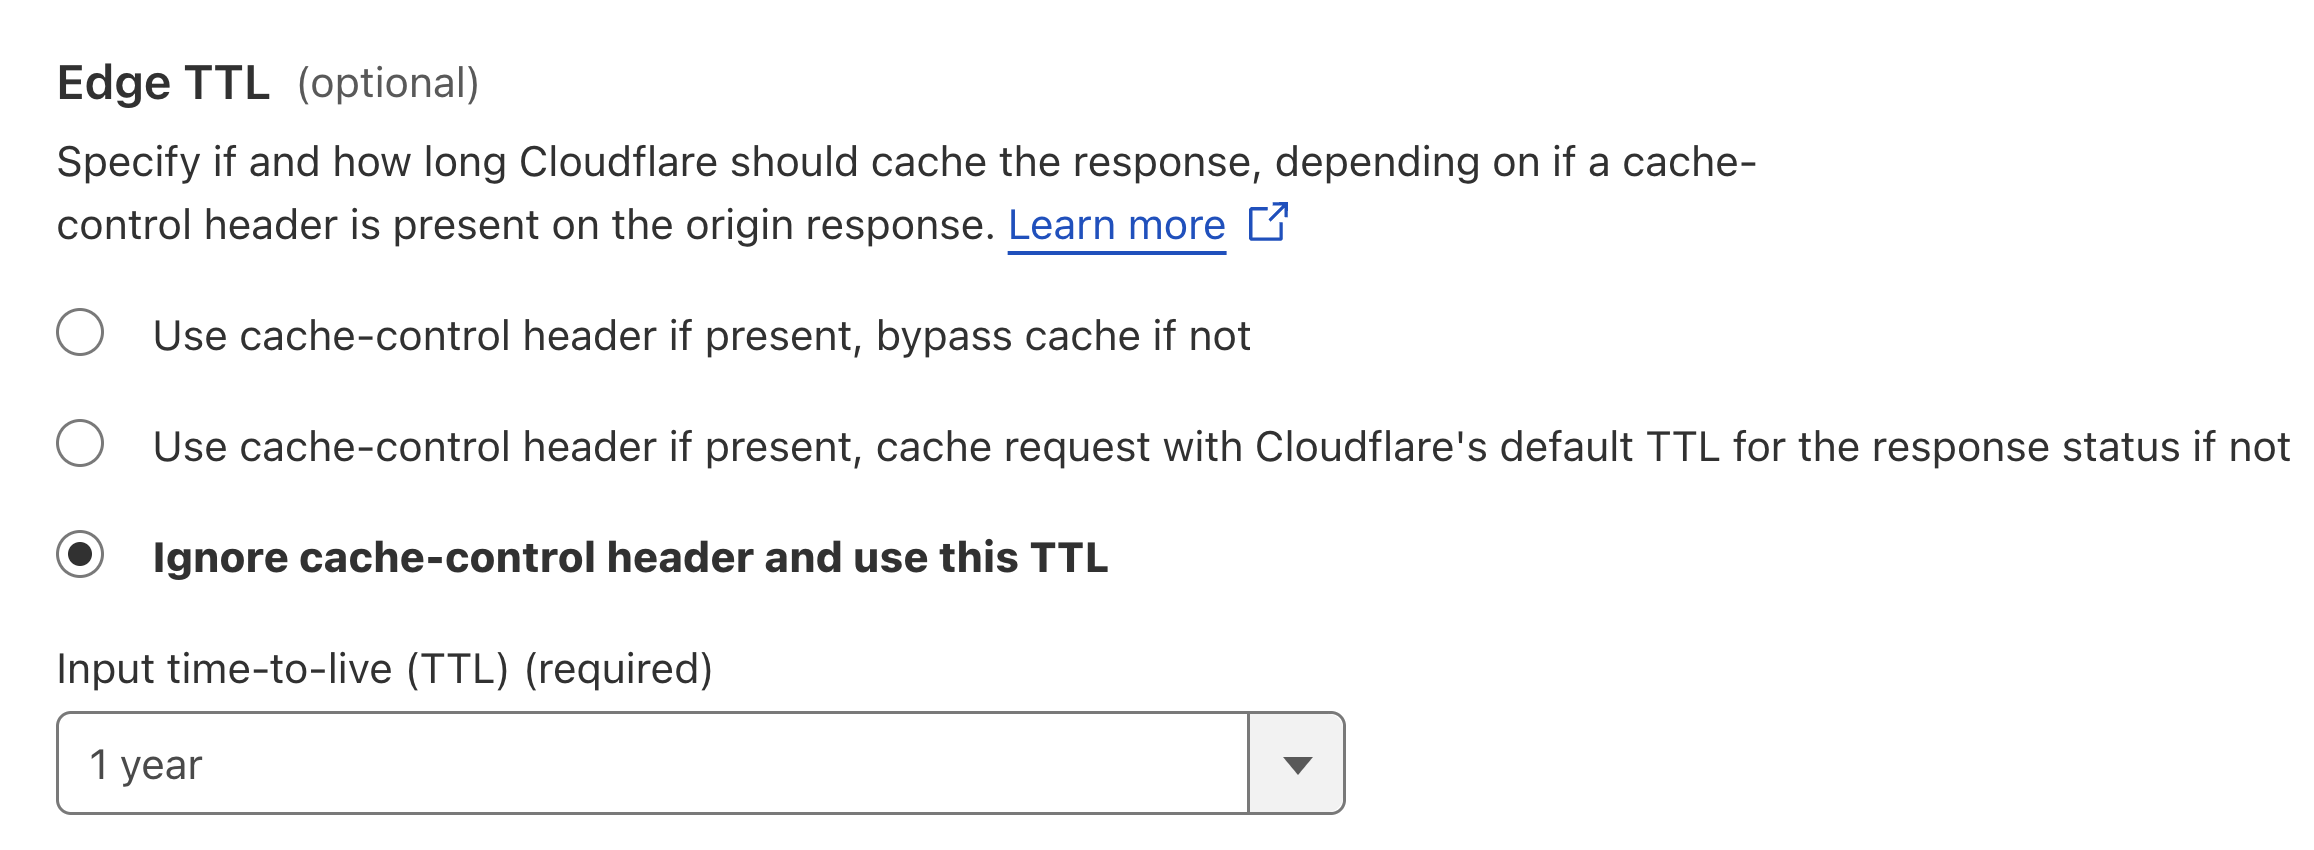
This setting controls how long Cloudflare caches the resource on its edge servers, and can be configured to override whatever cache-control headers your origin server sends.
The Serve stale content while revalidating option lets you toggle a setting for Cloudflare to serve stale content while it fetches the latest version from your origin server.

Best Practices
1. Use Cache-Control Headers
Help Cloudflare make smart caching decisions by setting proper Cache-Control headers on your origin server:
For dynamic resources, like HTML pages (for example, https://example.com/shopping-basket), start out with:
cache-control: max-age=0,must-revalidate,public
For static versioned resources, like CSS or JavaScript files (for example, https://example.com/styles-v123.css), use:
public, max-age=31536000, immutable
The immutable directive tells Cloudflare that the resource won't change, so it can cache it indefinitely.
2. Version Static Assets
Just like you saw in the previous URL example, version your assets to ensure that an update to a file means a new URL. For example, instead of:
<link rel="stylesheet" href="styles.css" />
Use:
<link rel="stylesheet" href="styles-v123.css" />
This lets you set long cache times while still being able to push updates when needed. Modern build pipelines can automate this process for you so that you are not manually incrementing version numbers in your files. For example, Vite's static asset handling.
3. Test Your Cache with DebugBear
Use DebugBear to check if your caching setup is working as expected. The test will show you how long your resources are cached for and whether they are being served from cache.
When running a lab test, you can enable the cache to see how your site performs when resources are served from cache.
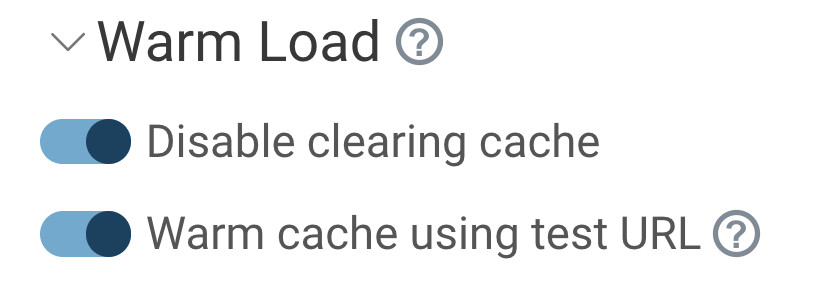
The waterfall chart identifies what resources were served from the browser cache.
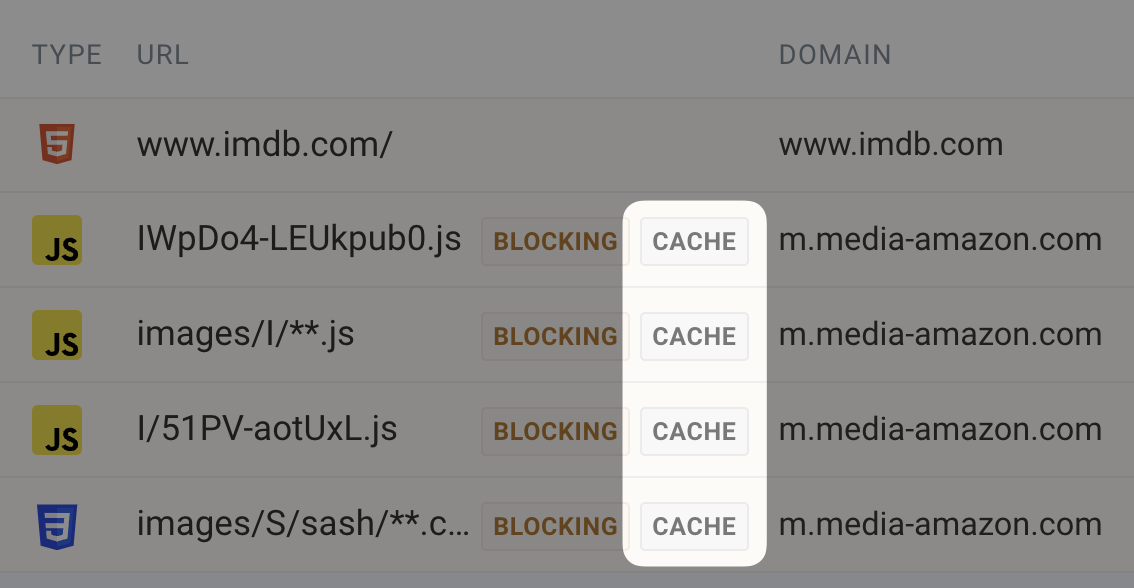
But in addition, DebugBear shows you network request and response headers. Since most CDNs respond with cache status headers, you can verify that your resources are being served from the CDN cache. This example shows x-cache: HIT from fastly indicating that the resource was served from the Fastly CDN cache.
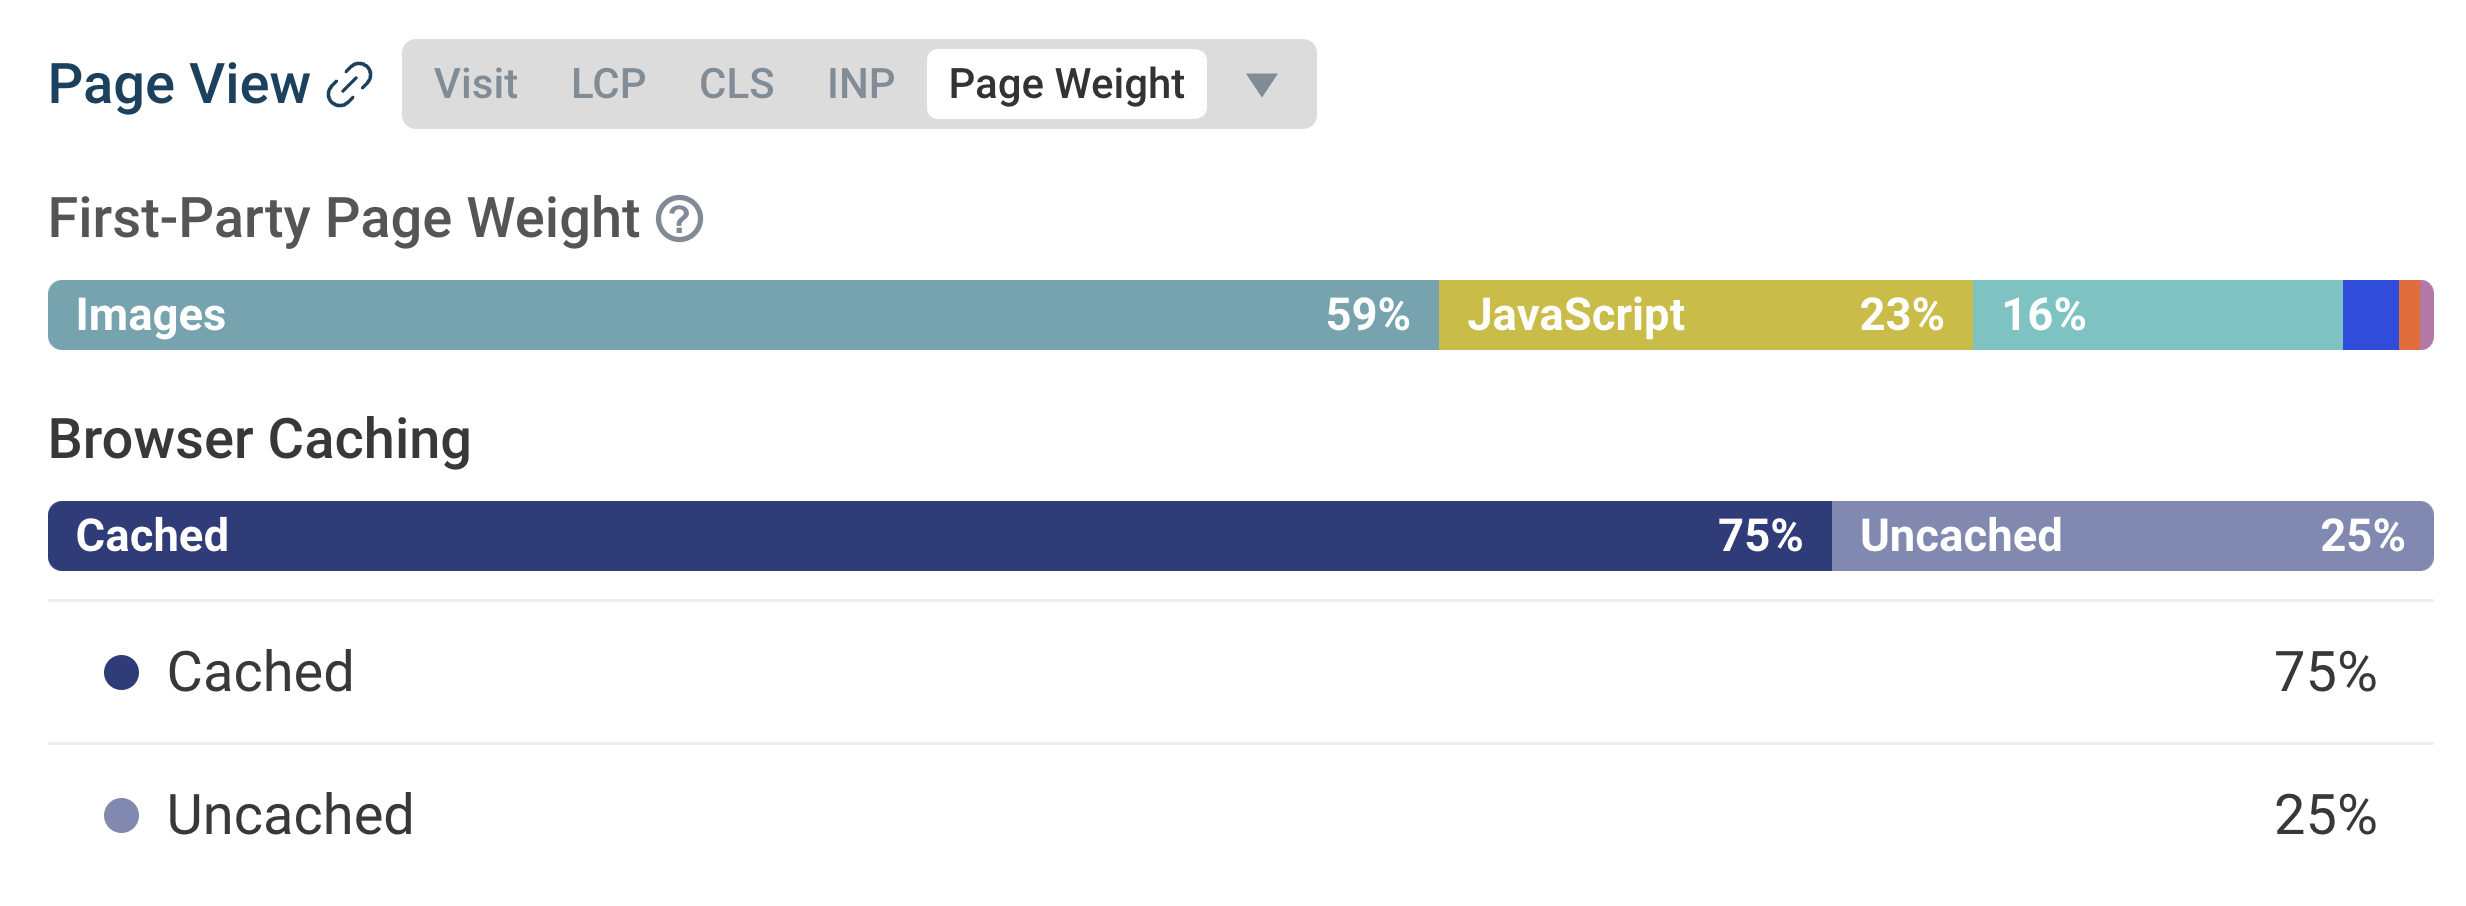
While DebugBear is great for controlled testing, you can also use DebugBear's Real User Monitoring feature to see how your site performs with real users. By diving into individual user sessions, you can understand the percentage of cached resources which a particular user received.
Purging the Cache
Caching issues can be frustrating to debug, but Cloudflare makes it easy to purge the cache when needed. You can purge the entire cache or specific URLs.

Note that purging the cache on a CDN will only affect the CDN cache. If you have browser cache issues, you may need to clear your browser cache or use the clear-site-data header.
Measuring Cache Performance
While Cloudflare has its own analytics offering, you can view a simplified version of your cache performance in the Cloudflare dashboard. Navigate to Analytics & Logs > HTTP Traffic to understand cached vs uncached traffic:
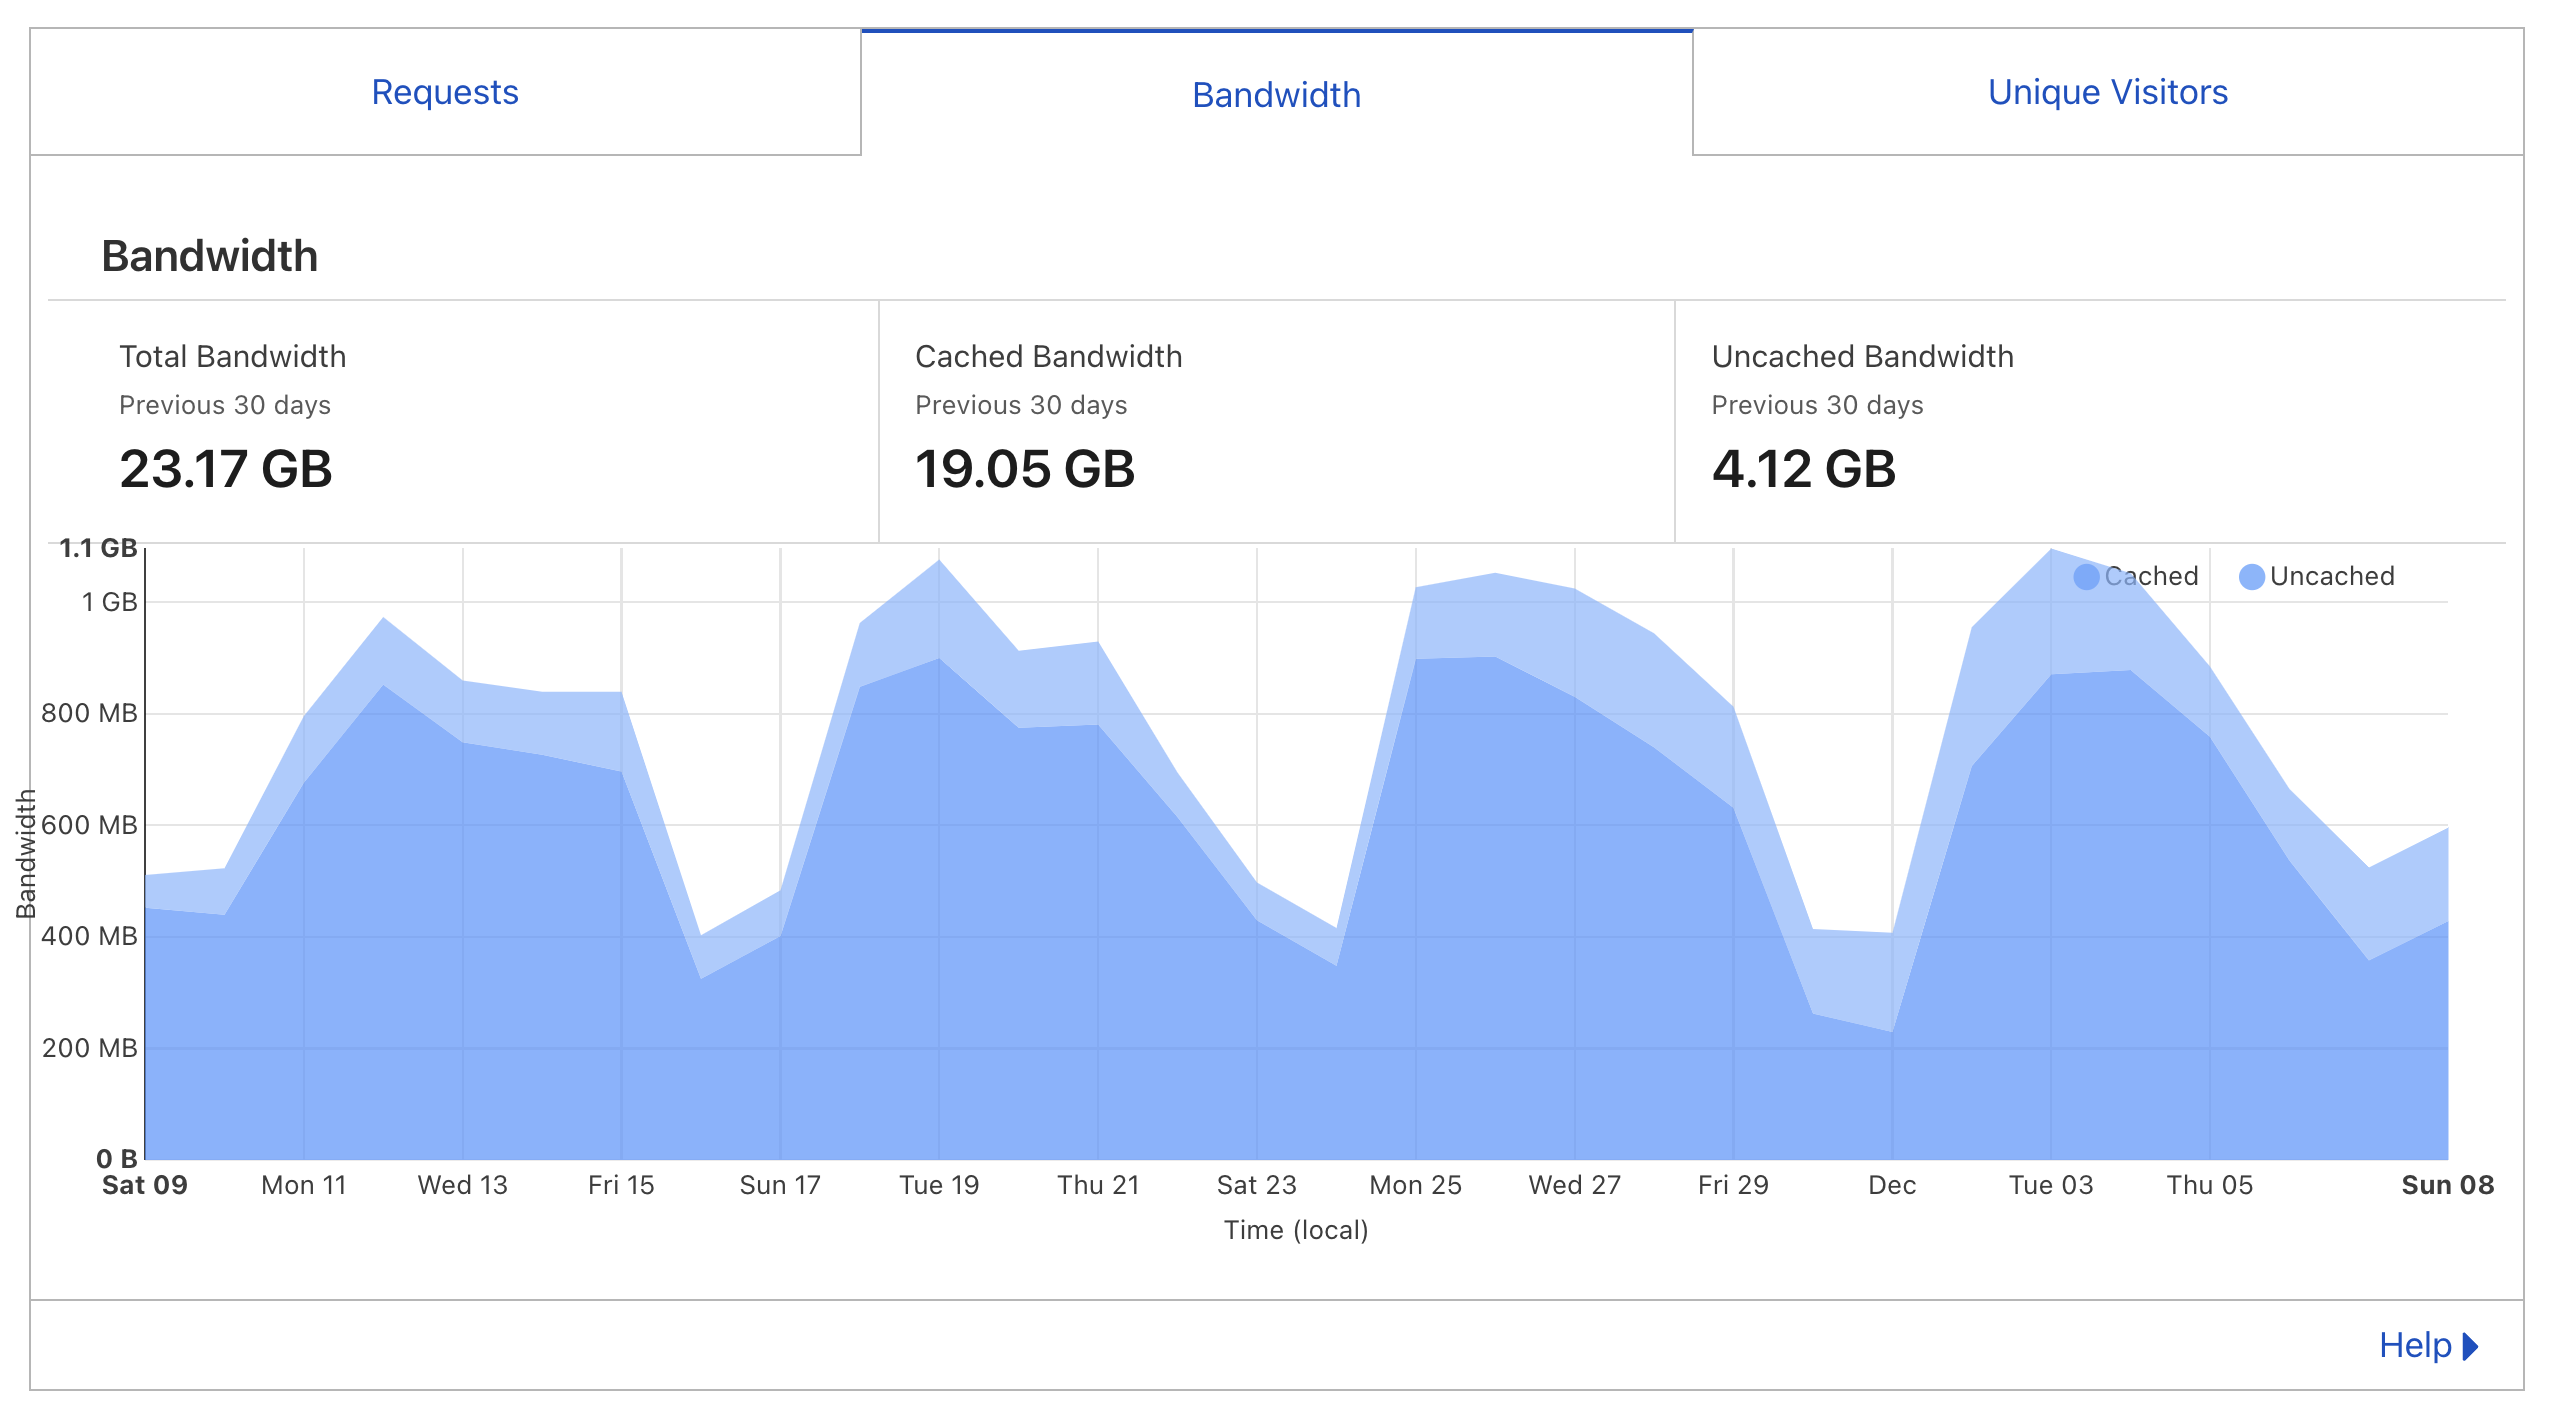
Instead of looking at in terms of bandwidth, you can also view cache performance in terms of requests. A high percentage of cache hits means that Cloudflare is serving content from its cache, reducing the load on your origin server.
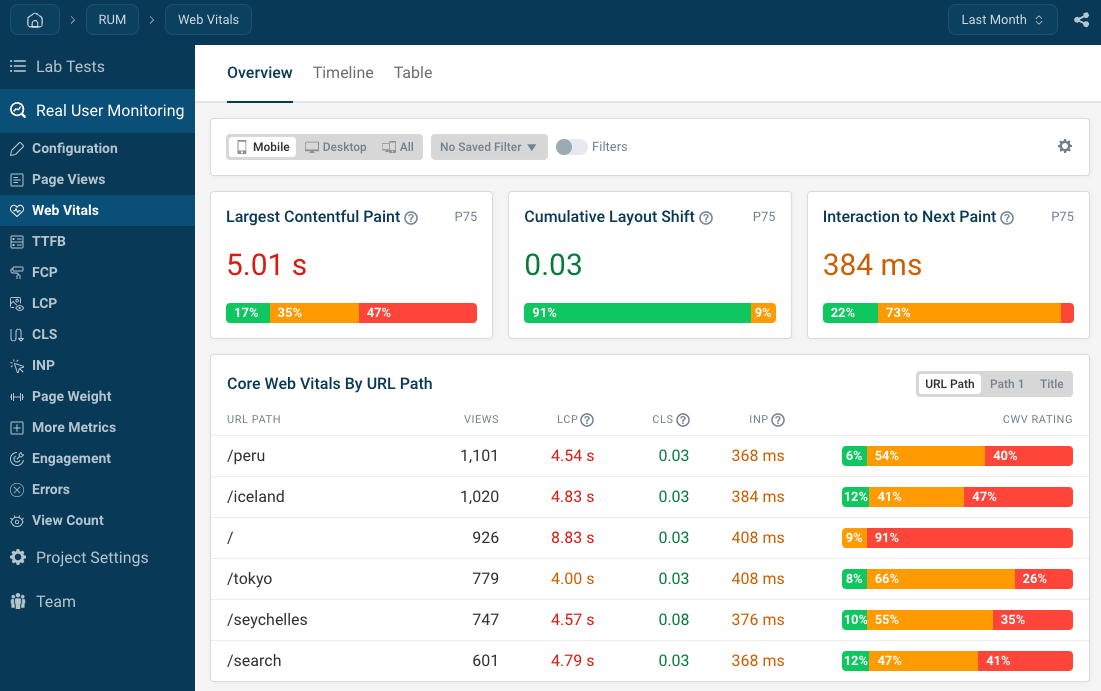
If you want to see how caching impacts your page speed and track Core Web Vitals on your website, you can use a real user monitoring tool like DebugBear.
Conclusion
Proper caching configuration on Cloudflare can improve your website's performance. Start with the basic settings, monitor the results, and adjust based on your requirements.
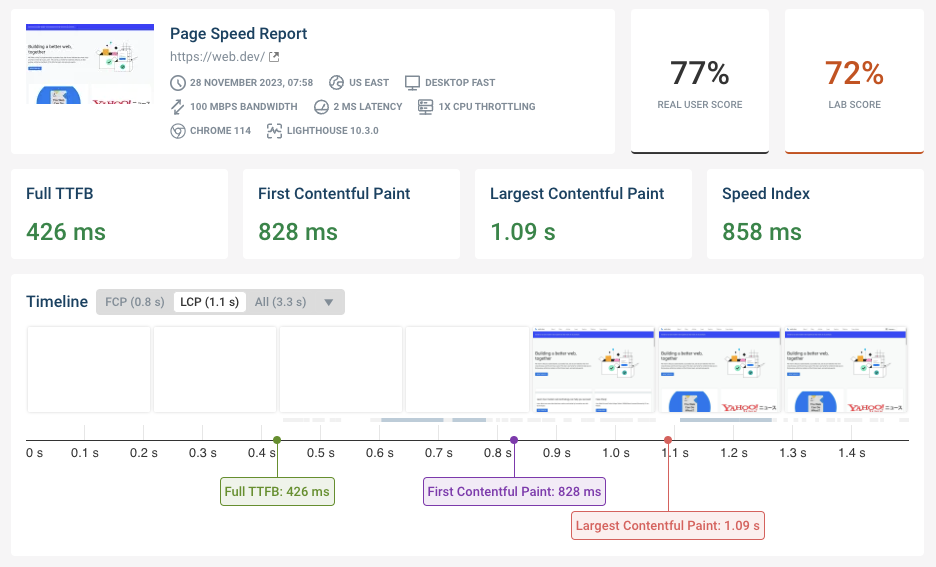

Run A Free Page Speed Test
Test Your Website:
- No Login Required
- Automated Recommendations
- Google SEO Assessment